
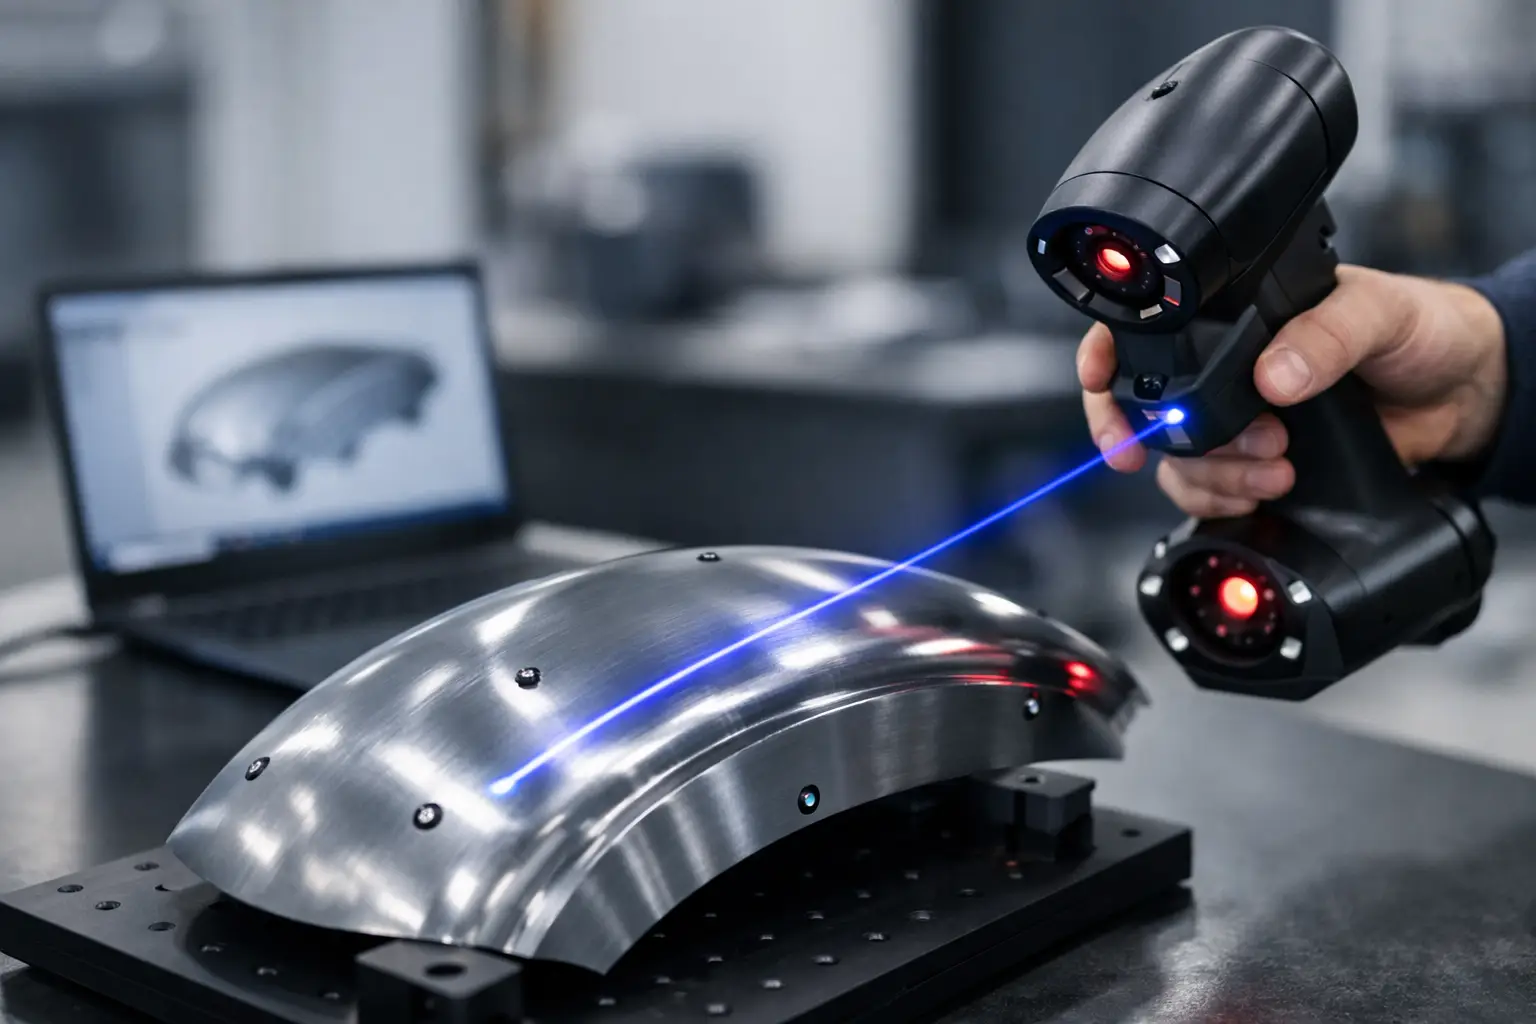

A curved weld can turn a straightforward PAUT job into a poor-data problem quickly. Knowing how to scan curved surfaces is less about forcing a standard probe setup onto a pipe and more about controlling the variables that curvature changes: contact, beam angle, probe position, encoder travel and calibration.
On a flat plate, a wedge can sit consistently and the probe index point follows a predictable line. On pipe, elbows, nozzles and vessel sections, even a small change in radius or probe alignment can affect coupling and sound path. The result may look like a material or weld condition when it is actually a scanning setup issue.
Start with the geometry, not the scanner
Before selecting hardware, confirm the outside diameter, wall thickness, weld profile, material, access and scan direction. A 300 mm diameter pipe and a 1,200 mm diameter vessel may both be called curved surfaces, but they do not present the same inspection problem.
Tighter diameters make it harder to maintain full wedge contact and consistent probe pressure. They also increase the effect of encoder position errors. On small-bore pipe, a scanner that works well on larger diameters can become unstable, rock on the surface or lose its intended scan line.
The weld configuration matters as well. Circumferential welds are generally scanned around the pipe, with the probe travelling in a controlled circumferential path. Long seam welds may require axial travel. For corrosion mapping, the required coverage and index spacing may point to a different scanner arrangement again.
Do not treat nominal diameter as the only dimension that matters. Coatings, high-low, cap reinforcement, surface corrosion, local ovality and nearby fittings can all alter how the scanner sits. Measure the actual surface where practical, particularly when working on older plant or fabricated sections with questionable dimensional consistency.
Match the wedge and probe to the radius
A flat wedge on a curved surface can work in limited circumstances, particularly on large diameters where the local surface is close to flat. It is rarely the best option for repeatable encoded inspection. The contact area is reduced, coupling becomes more sensitive and the beam entry point can vary as the probe rocks.
A wedge contoured to the pipe radius gives the probe a more stable footprint. It improves coupling consistency and helps keep the probe index point where the calibration assumes it will be. For critical weld examination, this is usually worth addressing before spending time adjusting gain or chasing unstable responses in the data.
The required wedge radius depends on the actual outside diameter and the scanner arrangement. A wedge designed for one pipe range may be acceptable across a narrow range of diameters, but there is always a compromise. The smaller the pipe, the less tolerance there is for using an approximate radius.
Probe selection must also suit the inspection objective. A compact array may conform more easily and fit within restricted clearance, while a longer aperture can provide useful resolution and coverage on larger sections. There is no universal answer. The correct choice depends on thickness, flaw orientation, access, required beam angles and the available scanning footprint.
Use a scanner that controls the scan path
Hand scanning can identify indications on curved components, but it is difficult to reproduce a position accurately without a controlled travel path. If the job requires encoded data, repeatable coverage or a defensible scan plan, use a scanner designed for the component geometry.
For circumferential welds, a pipe scanner should hold the probe at a stable stand-off and travel around the component without slipping. For axial scans, the arrangement needs to maintain its reference line along the pipe length. In both cases, the encoder must measure actual travel rather than wheel spin caused by poor traction or uneven surfaces.
A practical scanner setup should let the technician adjust for pipe diameter, probe position and weld offset without rebuilding an entire system. That matters when several jobs are running at once. A purpose-built scanner can remain configured for a regular application while another setup handles a different weld or corrosion task.
PAUT.Tech designs modular scanning hardware around that field reality: use the scanner that fits the job, rather than repeatedly stripping down one expensive unit to make it suit every surface.
Check tracking before collecting inspection data
Set the scanner on the component and move it through the full intended scan path before starting acquisition. Look for rocking, changing wheel contact, frame interference, hose drag and probe lift-off. A scanner that appears stable over the first 200 mm may behave differently when it passes a weld cap, local corrosion patch or support obstruction.
Verify that the probe remains correctly oriented relative to the weld centreline. On a circumferential weld, small changes in skew can alter the response from planar indications. On a longitudinal seam, drifting away from the intended scan line can leave part of the heat-affected zone outside the planned coverage.
Where possible, mark a physical reference line and confirm it against the encoded display. Physical marks are not a substitute for an encoder, but they are a useful field check when reviewing whether scanner position matches the component geometry.
Calibrate for the curved component and inspection plan
Calibration is not a box to tick before scanning. It is the point where the selected probe, wedge, material and curved geometry are checked as a working system.
Set the correct material velocity and build focal laws for the thickness, beam range and inspection volume. If the instrument supports curvature compensation, use it only when the radius entered matches the part and the procedure supports that approach. Incorrect geometry inputs can create misplaced indications with a very convincing display.
Confirm wedge delay, sensitivity, index point and beam angle using suitable reference reflectors. On curved samples, a calibration block that better represents the production radius is preferable to relying solely on a flat block. A flat calibration can establish basic probe performance, but it does not prove that the wedge contacts or tracks correctly on the actual component.
For encoded PAUT, verify encoder calibration over a known distance on the component or a representative surface. Do not assume a wheel circumference calculation remains accurate after changes in wheel pressure, surface condition or scanner configuration. If the encoder reports 500 mm while the scanner has travelled 470 mm, the resulting C-scan location is already compromised.
Maintain coupling without flooding the job
Curved surfaces often need more attention to couplant delivery because the probe contact condition changes as the scanner moves. Too little couplant produces intermittent lift-off and noisy data. Too much can make wheels slip, attract debris and mask a poor mechanical fit.
Use a couplant suited to the surface condition, temperature and scan duration. Clean the scan path first. Loose scale, grinding dust, spatter and heavy coating edges can interrupt probe contact and damage wedges. If surface preparation is limited, account for that limitation in the scan plan rather than pretending a clean, stable interface exists.
Watch the live A-scan and coupling indicators during the initial passes. A repeating loss of backwall response at the same location may be a surface condition issue. Random losses may indicate cable drag, uneven probe pressure, a worn wedge or inconsistent couplant flow. Fix the cause before collecting a full encoded file.
Set scan resolution to suit the decision
A fine index increment and slow scan speed can produce detailed data, but they also increase acquisition time and file size. The right resolution depends on the minimum reportable flaw size, weld volume, expected defect mechanisms and inspection procedure.
For weld examination, establish adequate coverage of the root, sidewalls, fusion faces and cap region. For corrosion mapping, set the grid spacing based on the required remaining-wall assessment and the likely corrosion morphology. Broad general corrosion and tight local pitting should not be scanned with the same assumptions.
Keep scan speed consistent. Excessive speed can reduce data density or expose encoder slip, especially around tight diameters and transitions. A steady, controlled pass is generally faster than rescanning a questionable file later.
Review data with the mechanics in mind
When an indication appears, assess whether its position and behaviour make sense for the geometry and scan direction. A response that moves unexpectedly between passes may be a real discontinuity, but it may also point to skew variation, changing wedge contact or an encoder issue.
Repeat suspicious areas from the opposite side of the weld where access allows. Change beam angle, scan direction or probe position if the procedure permits. The aim is not merely to create more data, but to separate a genuine reflector from an artefact caused by curvature or mechanics.
Curved-surface inspection is most reliable when the scanner, wedge, probe and calibration are treated as one system. Get the physical fit right first, verify it before acquisition, and the ultrasonic data has a much better chance of answering the question the job was actually commissioned to resolve.